
How to make your own Fallout armor
Check my tutorial below. If you need pattern for your project, you can find them in my shop.
Check my tutorial below. If you need pattern for your project, you can find them in my shop.


1. Introduction
This is a tutorial on how to make your own Fallout 4 combat armor.
For this project you need craft foam in different thickness and thermoplastic sheets like Cosplayflex.
Also, patterns for your combat armor which you can find in my shop.
Hint: Click on any picture to see it full size.
2. Cut all patterns
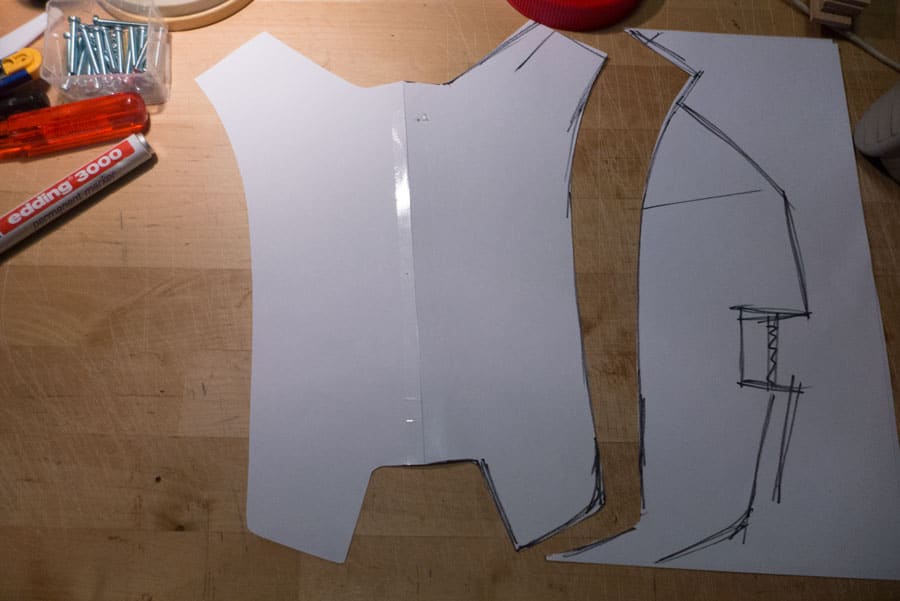
The pictures in this tutorial mostly show the patterns that I had before the clean version that you now have in my shop. So, use the pattern that you got from my shop and cut them all out.
3. Prepare the foam

Foam in different thickness is recommended here, but you can of course work with what you have. Though, these have been tested and proved to work for this project very well. Use 3 mm, 5mm, and 10mm
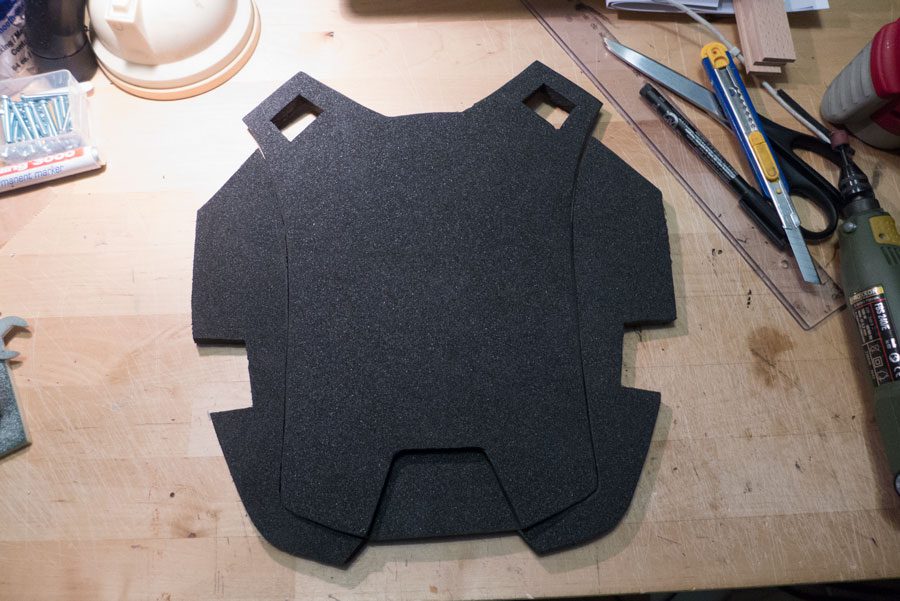
4. Cut out all your foam

Print your patterns on regular sheets of paper, transfer it to your foam sheet, and then cut out all the pieces. See the PDF for all the information about how many patterns you need and how they're put together.
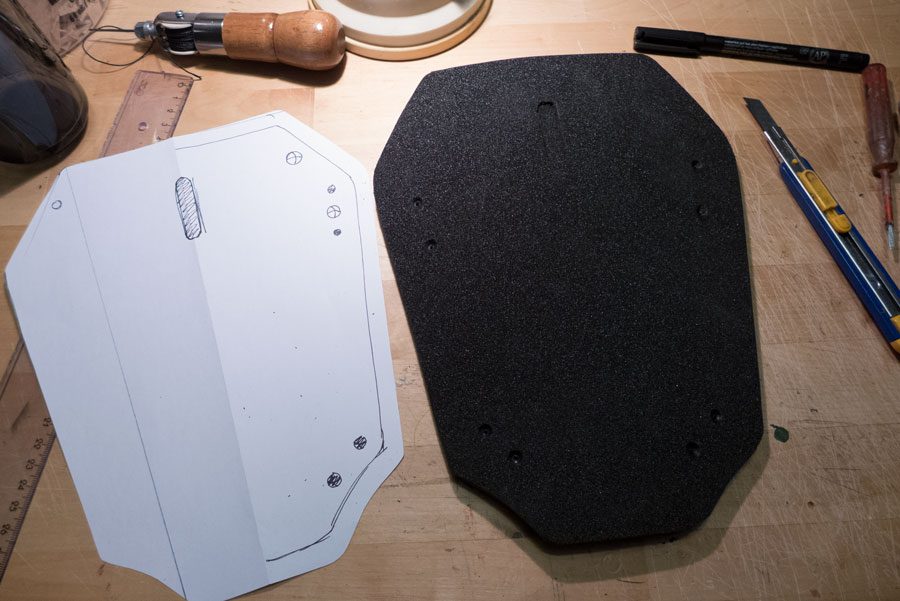
5. Measure twice, cut once
To not make a mistake during your armor build, be sure to check the if you've cut all the pieces correctly. Before covering them with a thermoplastic sheet, you'd better be sure it all fits.
6. Cut, bend, and shape

Some of the armor parts have beveled areas. You can cut ridges into the back of the foam to make it easier for you to get the bevel for the front side.
7. Thermoplastics or foam?

If you already are familiar with foam and you prefer to work with that, proceed and ignore the use of thermoplastics. Preparing the thermoplastic is basically the same like preparing the foam bits. Trace the pattern over the thermoplastic sheet, but leave a border of an inch or more so you can wrap it around your foam sheet. The thicker the foam, the more border it needs.
8. Repeat for all parts
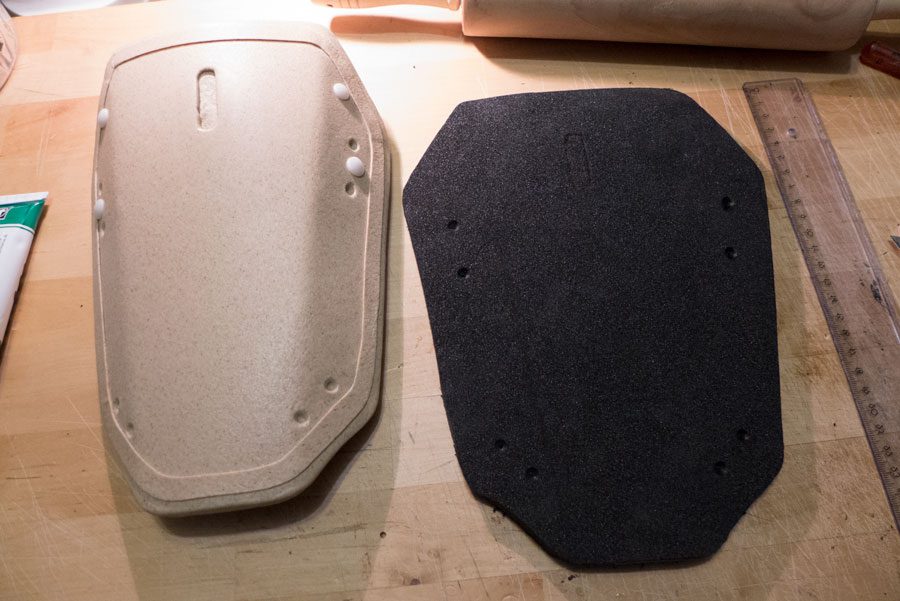
Now repeat the same process with all the other patterns. Some of them need bevels, some of them have holes that you need to drill into.
9. Wrap the border
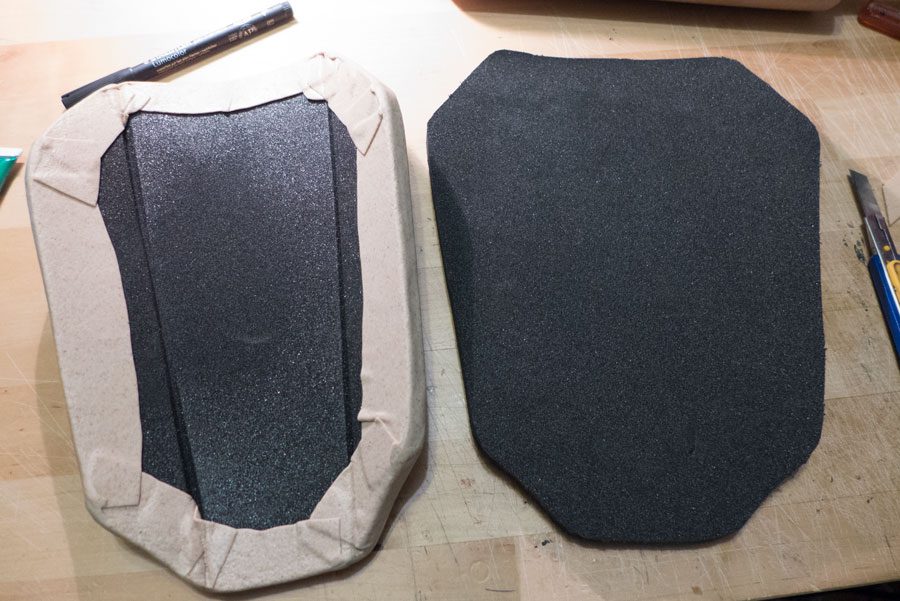
Here is an example on how you can wrap the thermoplastic around your armor plate.
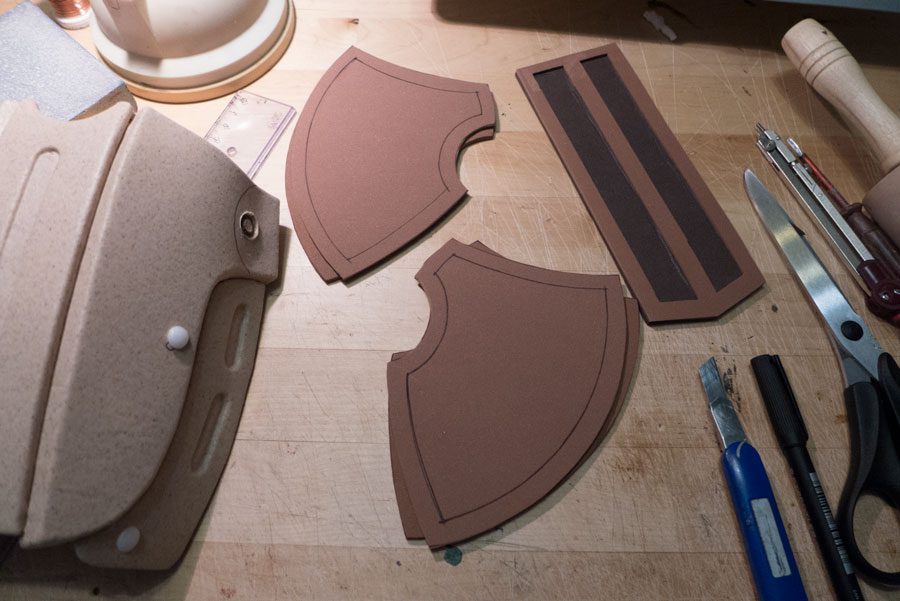
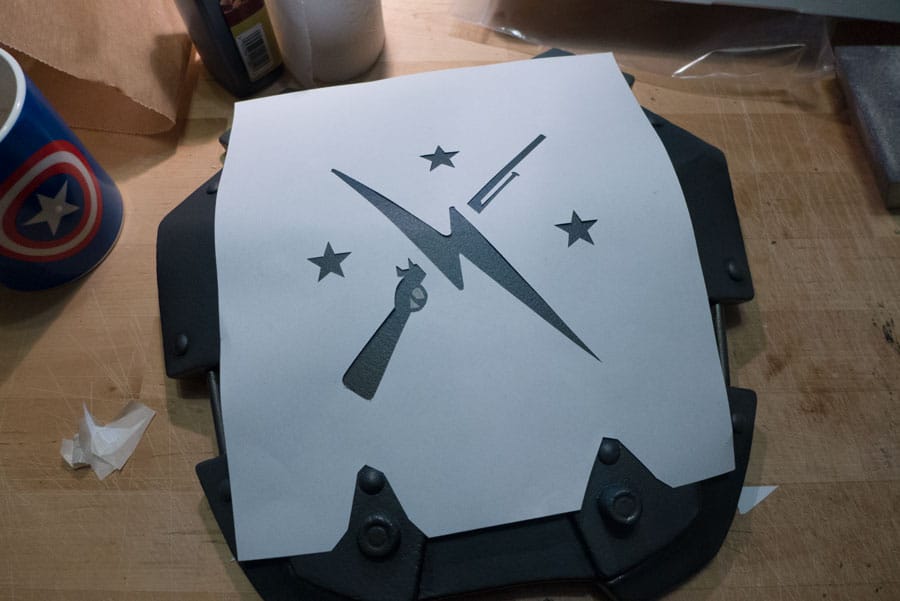
10. Adding details

With thing strips of the thermoplastic of your choice, you can add fine details to your armor parts.
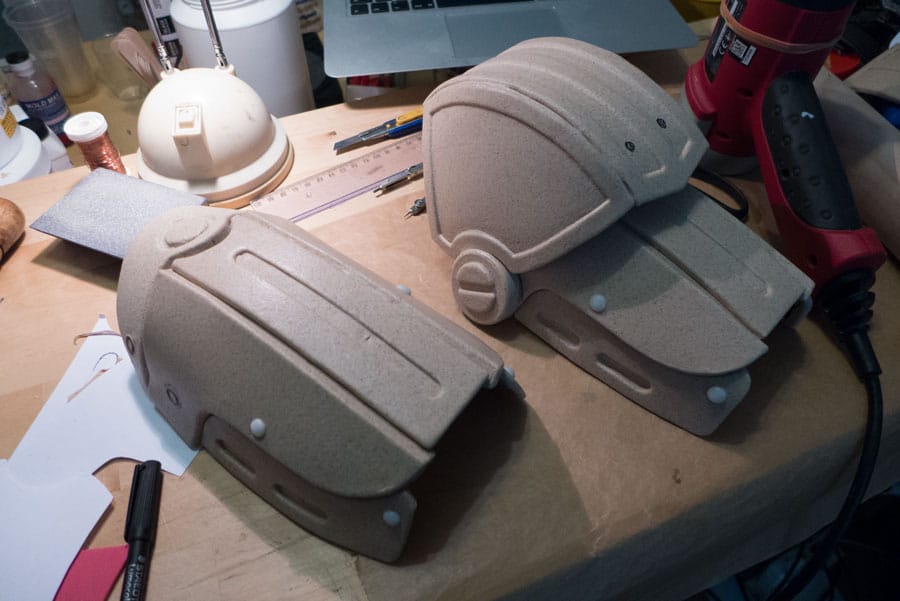
11. The shoulder parts

Work with thick and thin foam sheets. If you use thermoplastics, you'll have no problem to glue all of the separate parts together with a hot air gun. By using foam, you're working to glue instead. My recommendation is to use thermoplastics here to have a real armor look when all is done.
12. Sturdy armor
Fisnished armor parts wrapped in Cosplayflex, my go ot thermoplastic.
13. Belts and buckles
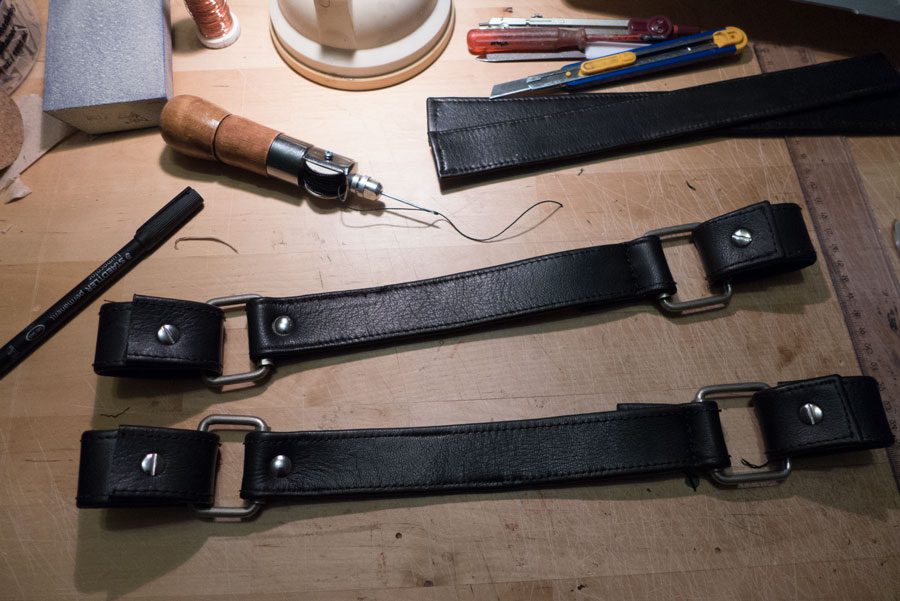

Your're free to use real or faux leather to make the belts. I used a very thin leather and covered foam strips with it to give it more stability.
14. Paint and finish
There are many ways to paint your armor parts. Just make sure they get a clear coat when you're done painting them. Otherwise the paint might chip off if you bump into something.
15. And you're done!

Absolutely use a primer before you paint the thermoplastics or foam. The paint doesn't stick well to naked foam or thermoplastics, so a fitting primer is crucial. I'd recommend to use a flexible primer for foam, because you'll be able to bend you armor parts a bit without having the paint to just crack.
This project is beginner-friendly. If you’ve never worked with thermoplastics before, you can read it all about it in my books:


Message me and I’ll make sure to help you with it.